Creating a Sales Order
Introduction
This topic explains how to create a sales order and effectively manage transactions.
Steps to Create a Sales Order
-
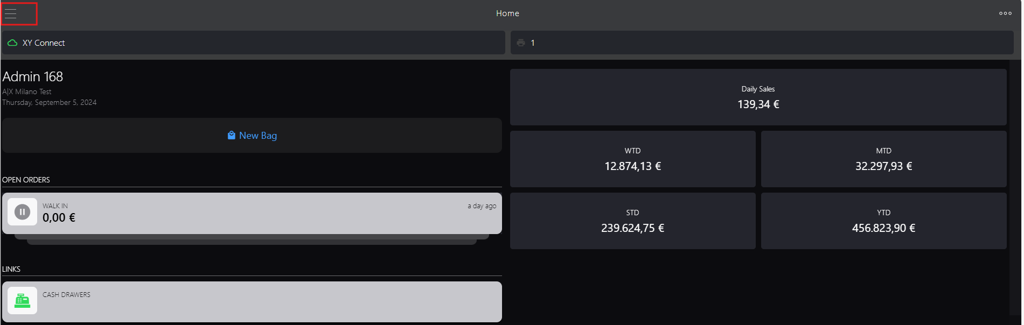
Click the burger menu.
-
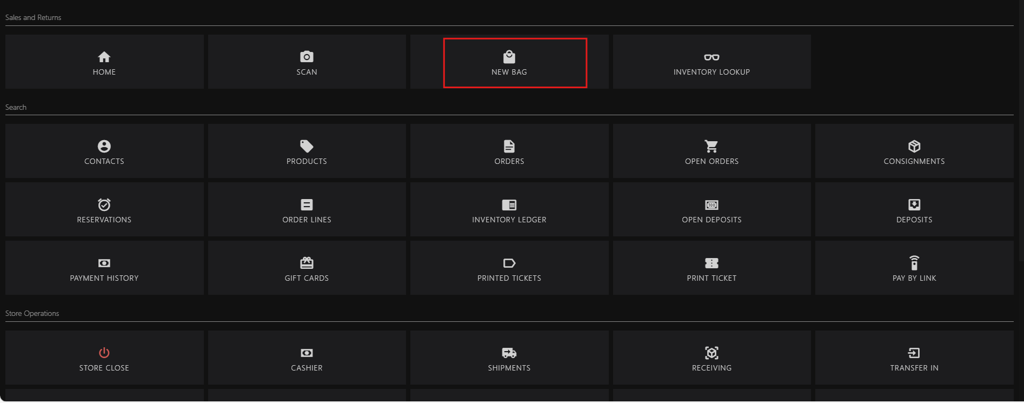
Click NEW BAG.
-
Click Sales Order.

-
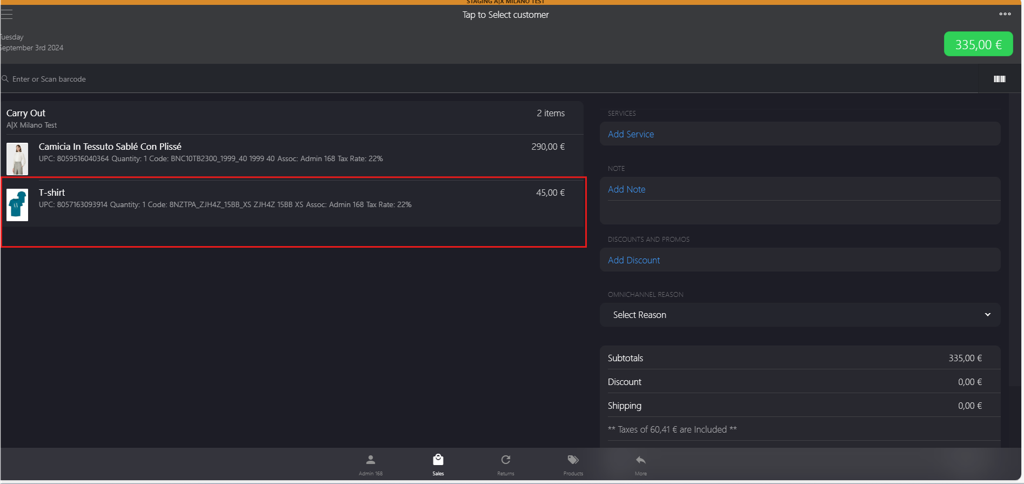
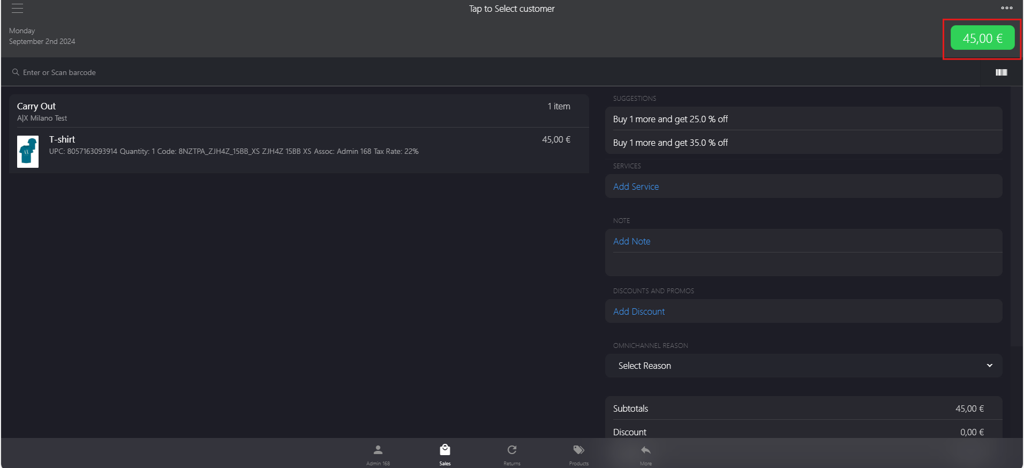
Go to Enter or Scan barcode box to add the products.
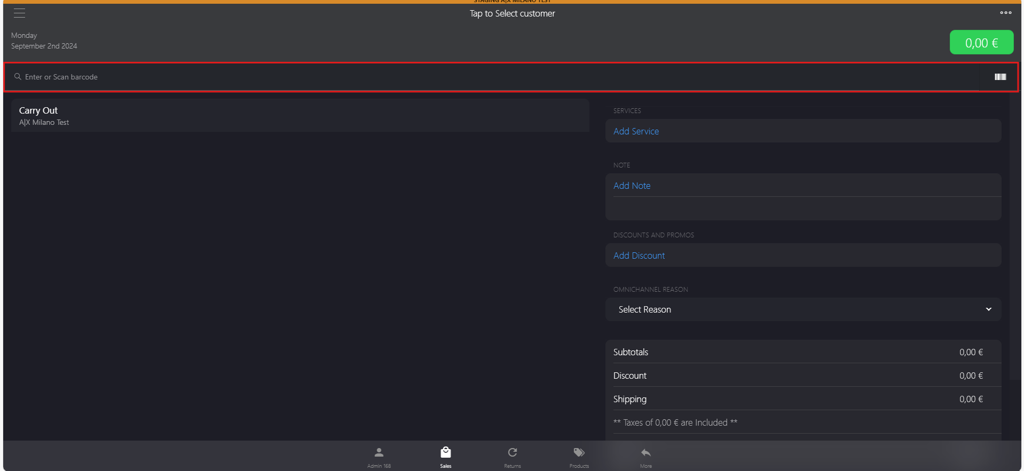
- If you have a barcode scanner, scan the product’s barcode. The code will automatically appear in the box.
- If a scanner is unavailable, manually enter the product barcode number into the box.
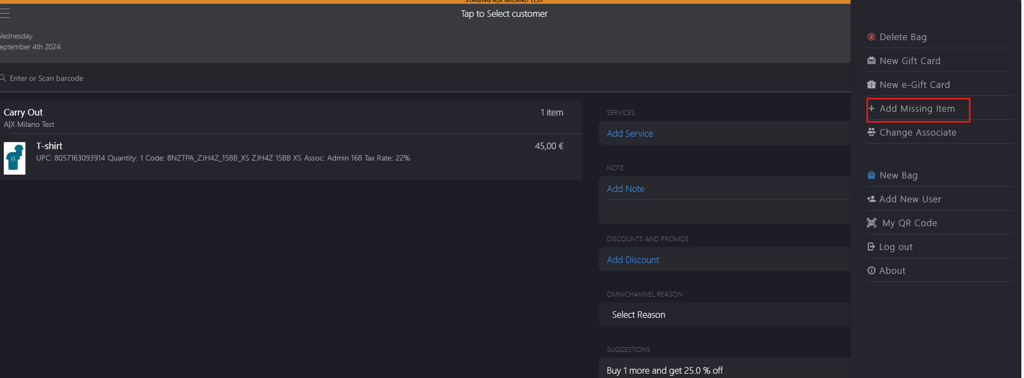
- If you cannot find the item, go to the meatballs menu and select + Add Missing Item to save the item to Products (store specific).
-
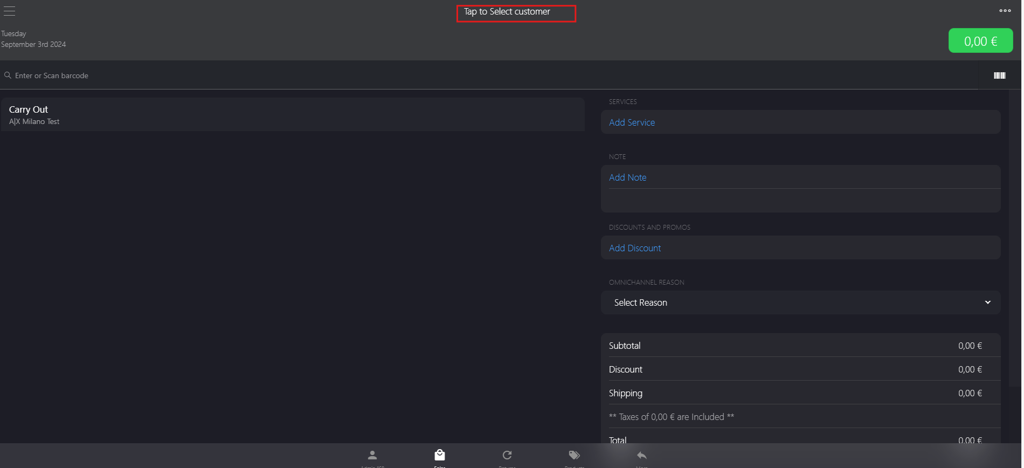
Click Tap to Select customer to add the customer.
-
Modify the associate linked to a sales order.
-
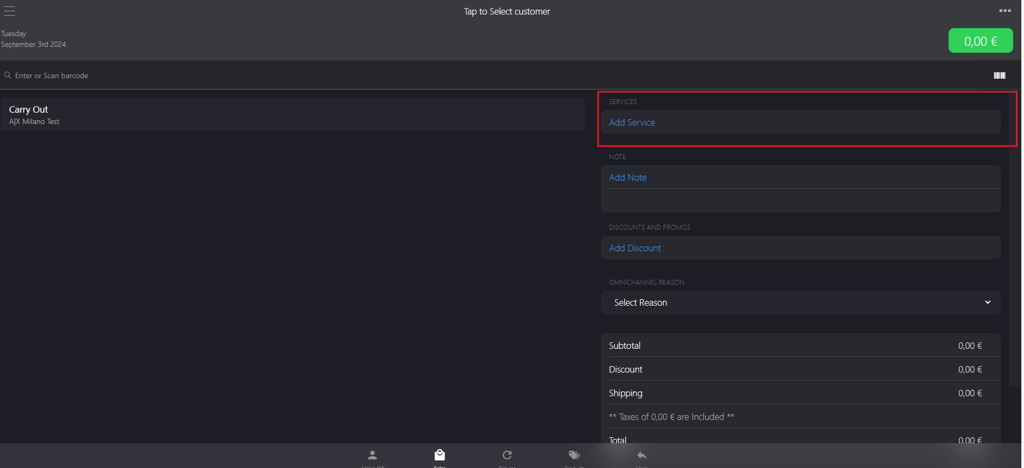
In the SERVICES section, click Add Service to add services.
-
In the NOTE section, click Add Note to enter any notes related to the sales order.

-
In the DISCOUNTS AND PROMOS section, click Add Discounts to apply the discounts, such as percentage discounts.

-
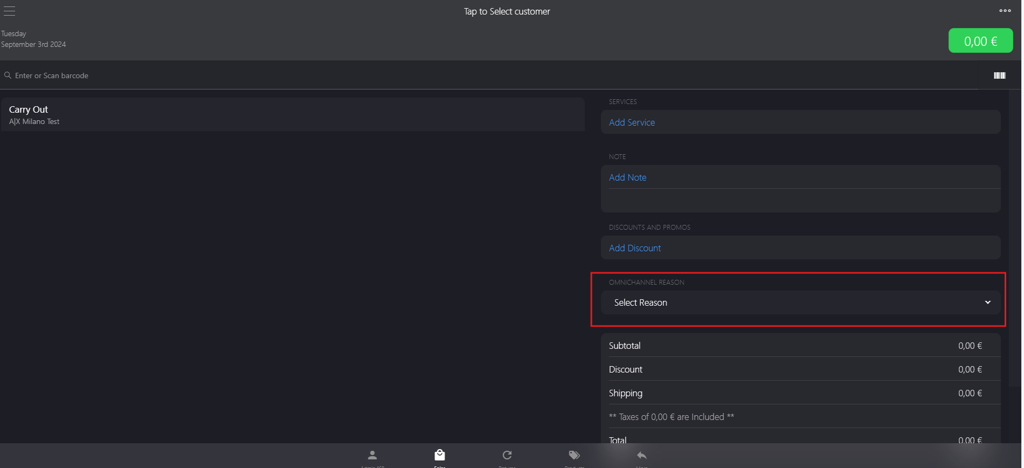
In the OMNICHANNEL REASON dropdown menu, click Select Reason to choose the appropriate reason.
-
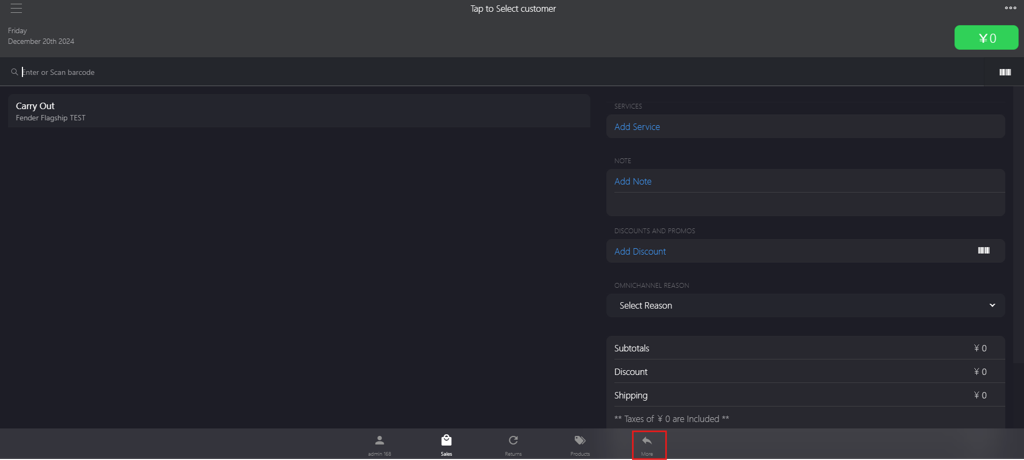
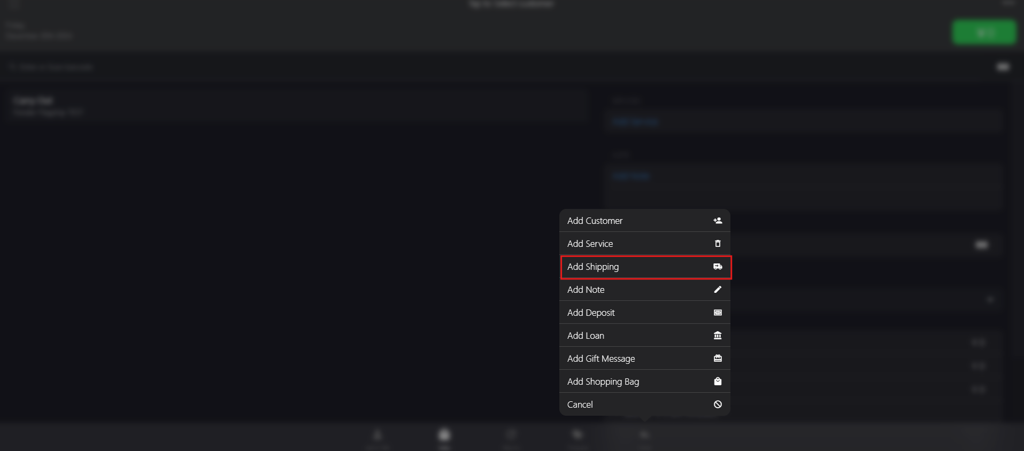
In the bottom bar menu, click More.
-
Select Add Shipping from More popup menu.
-
Click the item to edit the price (optional).
-
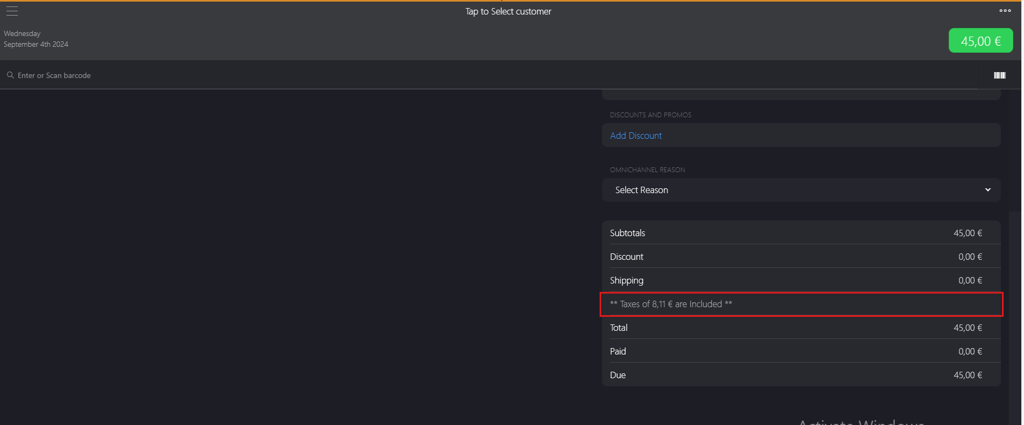
Click Taxes field to apply tax exemption (optional).
-
Click the green button in the upper right corner.
-
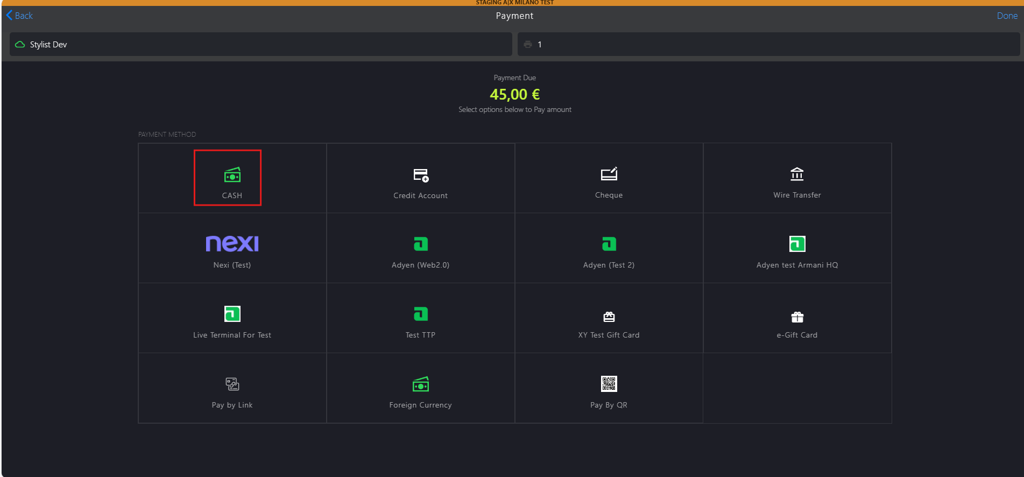
Select the preferred payment options. Note: CASH option has been selected in this scenario.
-
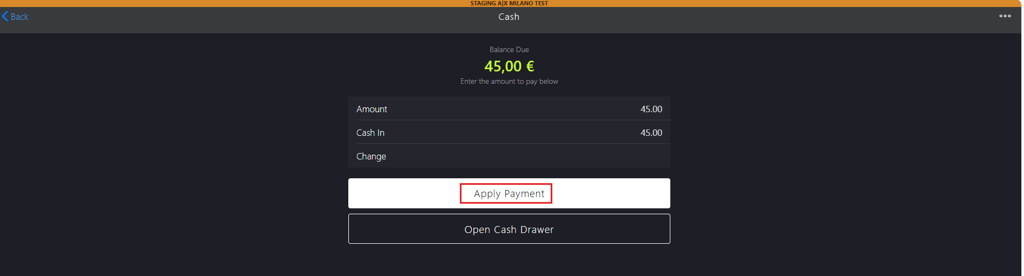
Click Apply Payment.
-
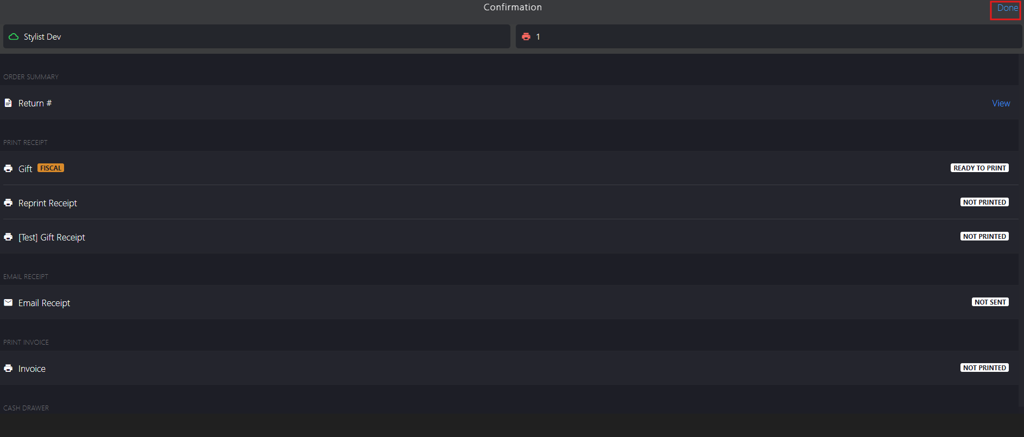
You will be directed to the Confirmation page where you can print the receipts.

-
Click Done to complete the sales transaction.