Non Serialized Inventory Count Using Full Count
Introduction
This topic describes how to perform a Full Count for non-serialized inventory. You use this method to count all items in the store without applying filters, ensuring that physical stock matches system records and maintains accurate quantities for sales and reporting.
Steps for Performing a Non Serialized Full Count
-
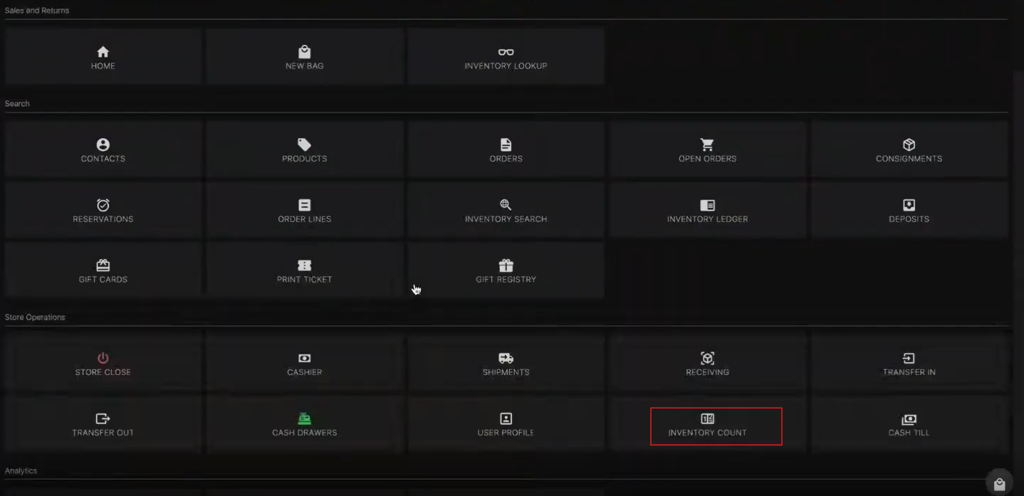
Click the burger menu.
-
Click the Inventory Count.
-
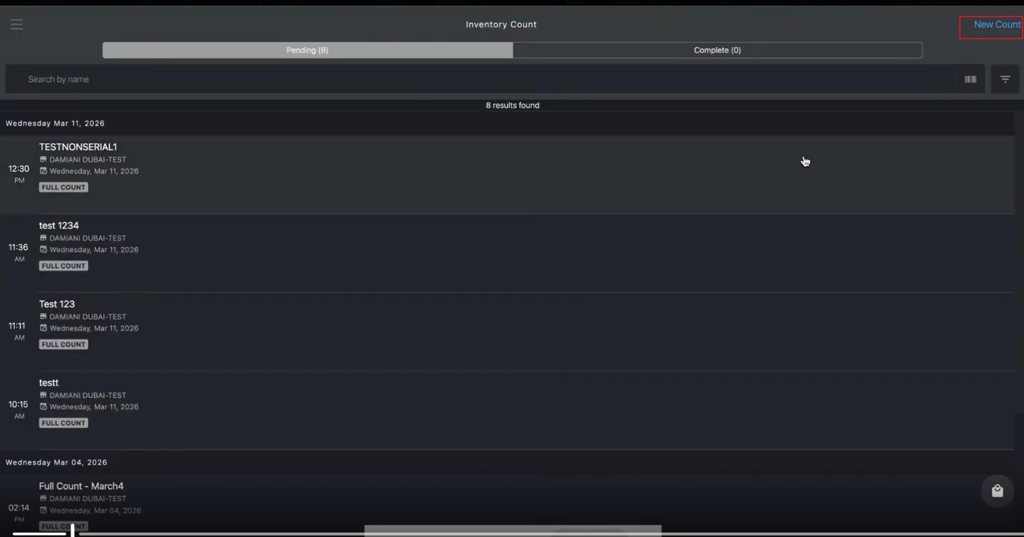
Click New Count.
-
Enter the details to create the new count:
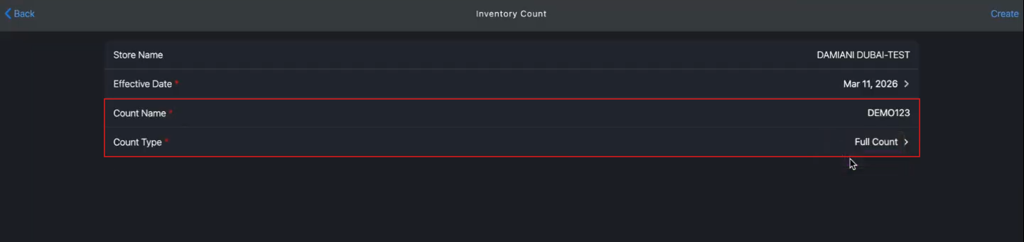
- Verify the Store Name and Effective Date (auto-populated by the system).
- Enter the Count Name, for example, DEMO123.
- Select Full Count from the Count Type dropdown:
- Cycle Count: Enter one of the following values:
- Department
- Category
- Sub-category
- Vendor
- Product Class
- Collection
- Full Count: Allows for scanning any item in the store without classification by department or category.
- Cycle Count: Enter one of the following values:
-
Click Create to initialize the count session.
-
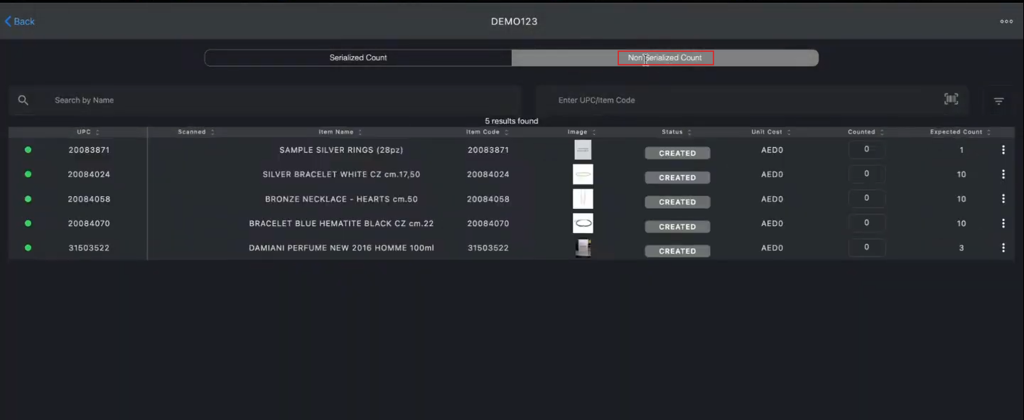
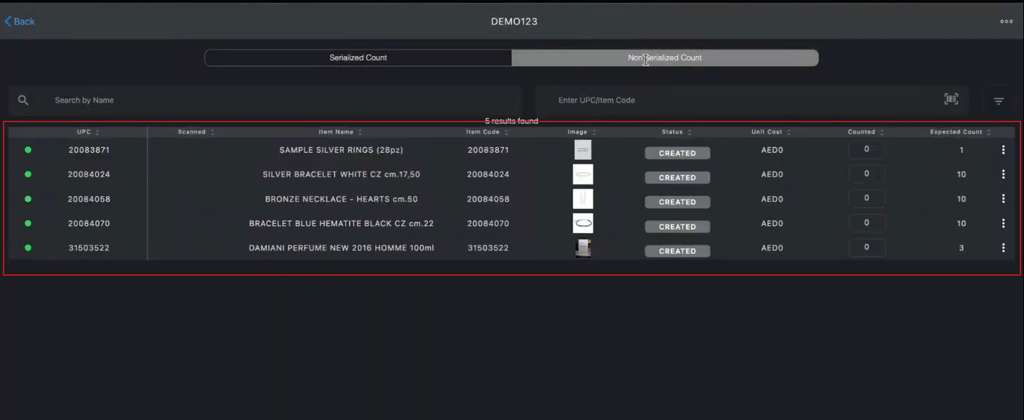
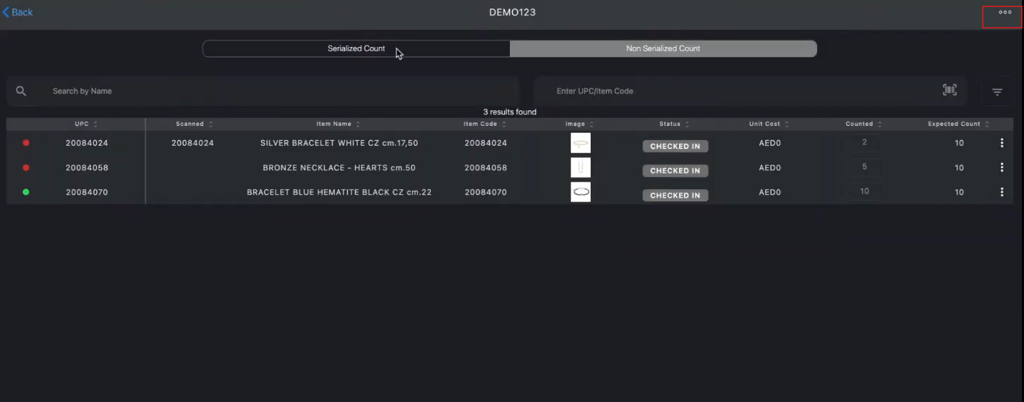
Click the Non Serialized Count tab.
-
Review the list of Non Serialized Count listed items that are automatically populated for the store.
-
You can Modify the list as needed:
-
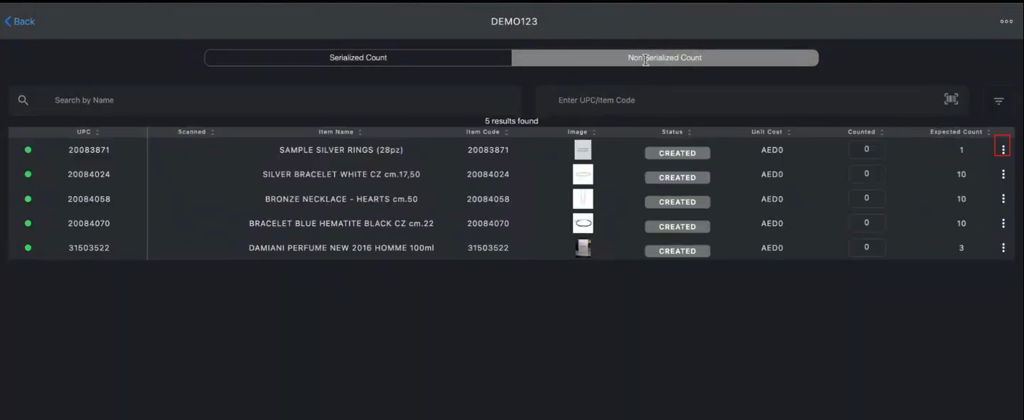
To Remove a Existing Items
-
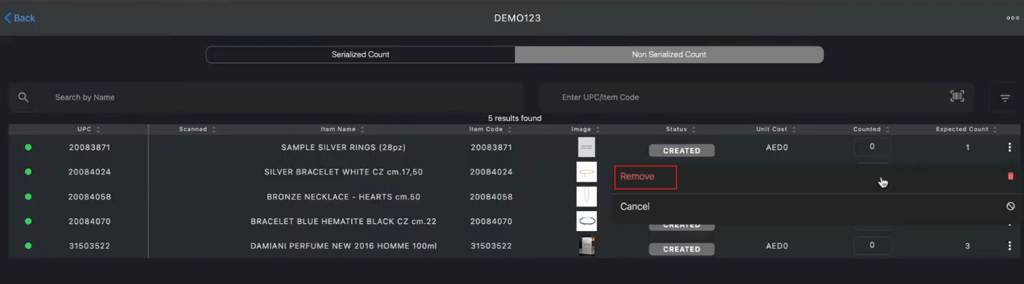
Click the kebab menu of the specific item to remove items not part of the current inventory count.
-
Click Remove to remove the item from list.
-
-
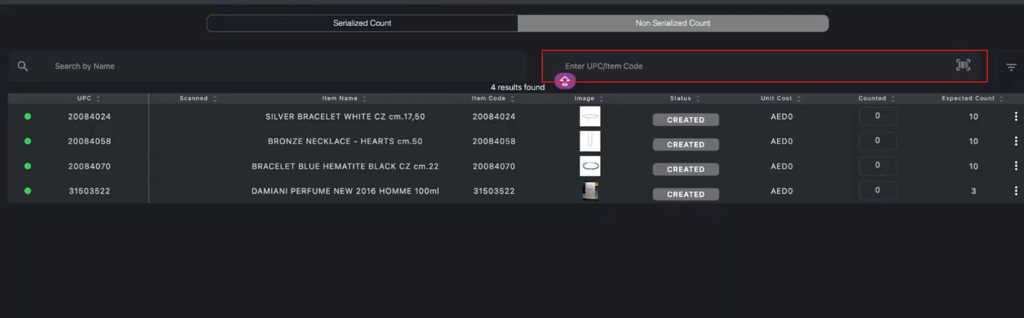
Enter or scan the UPC or item code in the Enter UPC/Item Code field to add a new item to the list.
-
-
Update the Counted quantity for each item using one of the following methods:
-
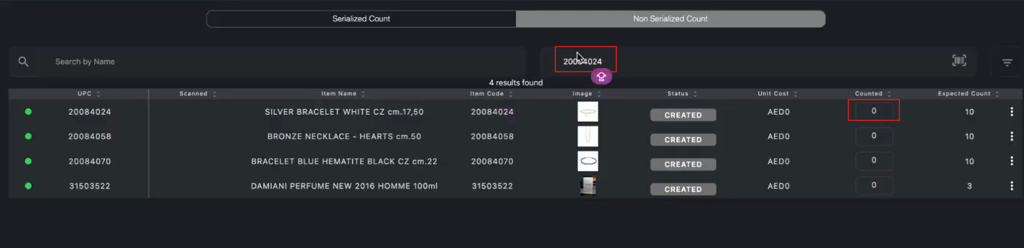
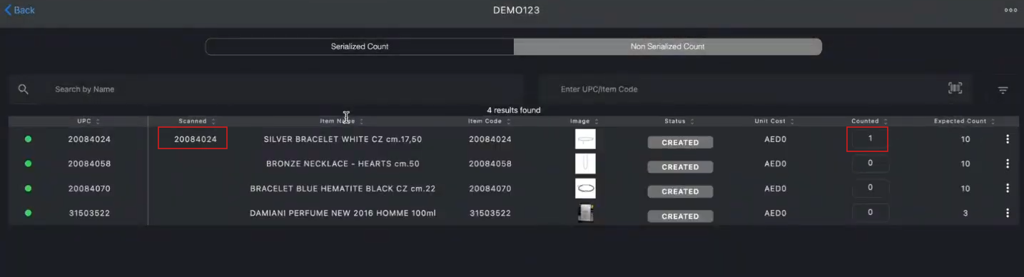
Enter or scan the UPC/item code in the Enter UPC/Item Code field.
- The following images show an example of entering 20084024 and updating the Counted field quantity from 0 to 1.
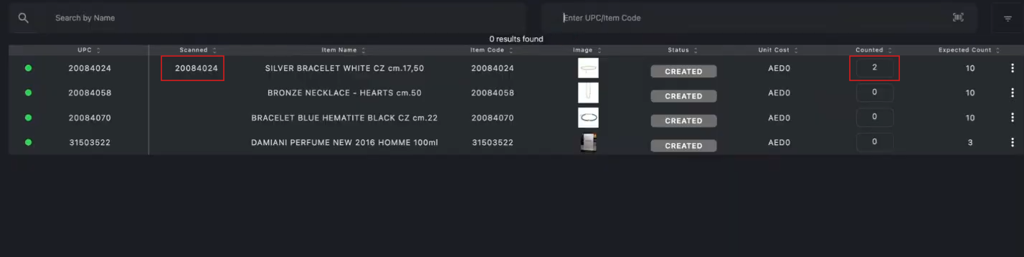
- If needed, repeat entering or scanning the same UPC/item code. The following image shows an example of the system incrementing the Counted field quantity from 1 to 2.
- If needed, continue entering or scanning the UPC/item code. Example: The system increases the counted quantity with each entry or scan.
-
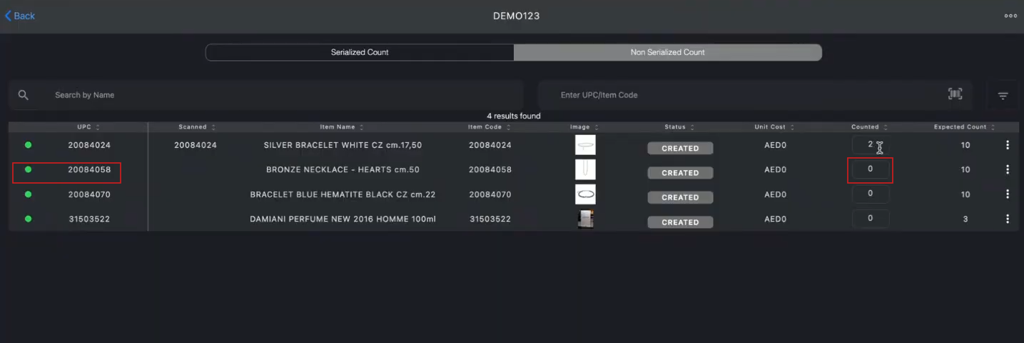
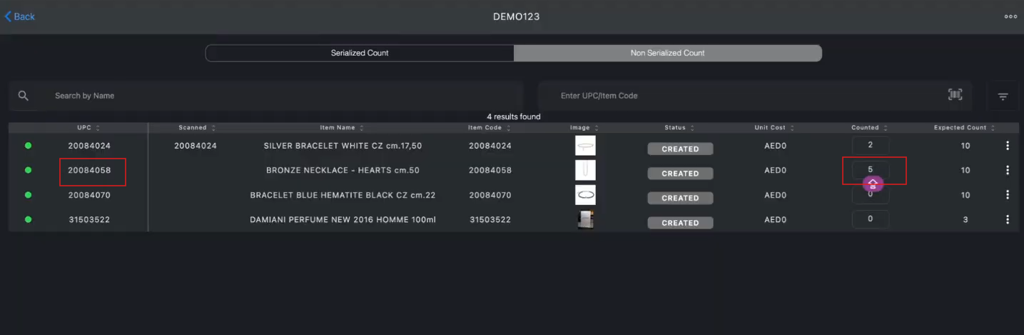
Manually updating the specific quantity in the Counted field. The following images show an example of how to manually update the Counted quantity for UPC/item code 20084058 from 0 to 5.
-
-
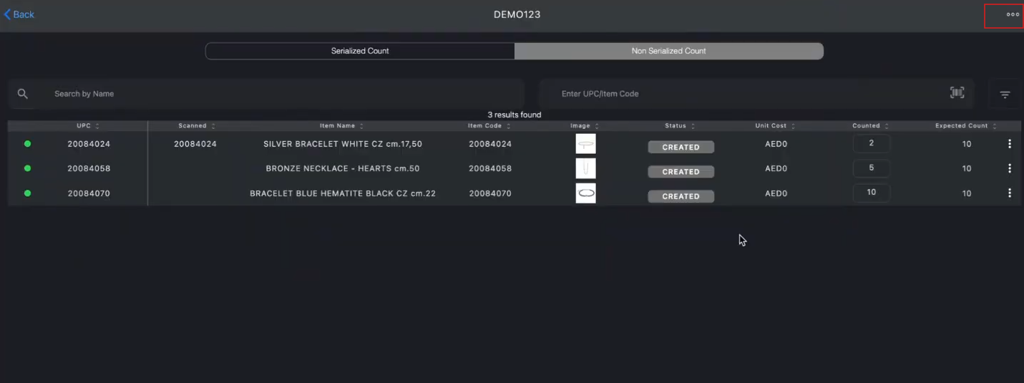
Click the meatballs menu in the upper-right corner.
-
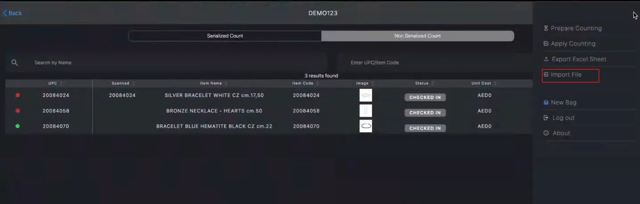
Click the Import File.
-
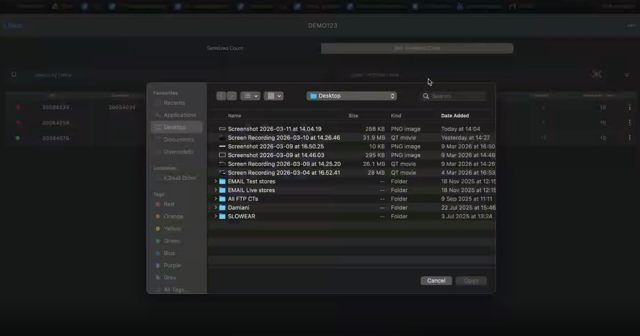
Select the New Count Excel File from your system.
-
Click Open to Upload the file.

-
-
-
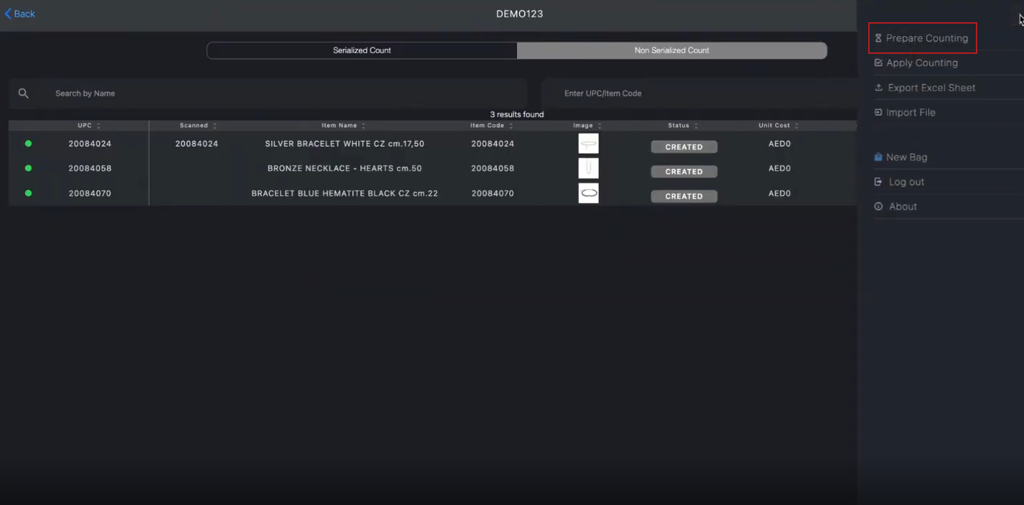
Click the meatballs menu in the upper-right corner.
-
Click the Prepare Counting.
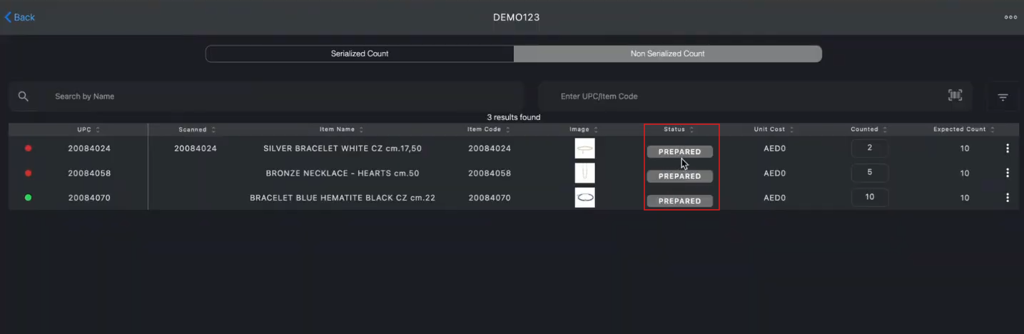
-
Click OK in the Confirm pop-up to update the session status from CREATED to PREPARED.

-
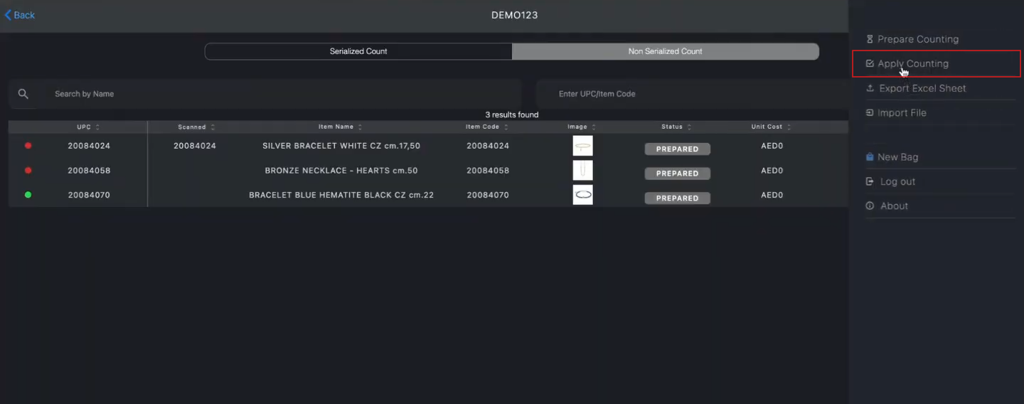
Click the meatballs menu in the upper-right corner again.
-
Click the Apply Counting.
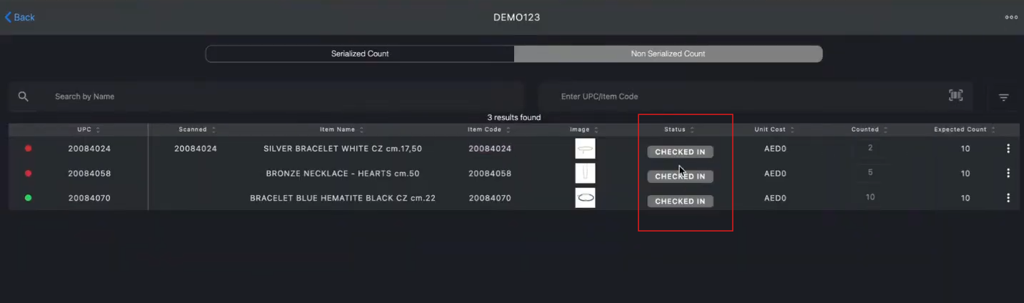
-
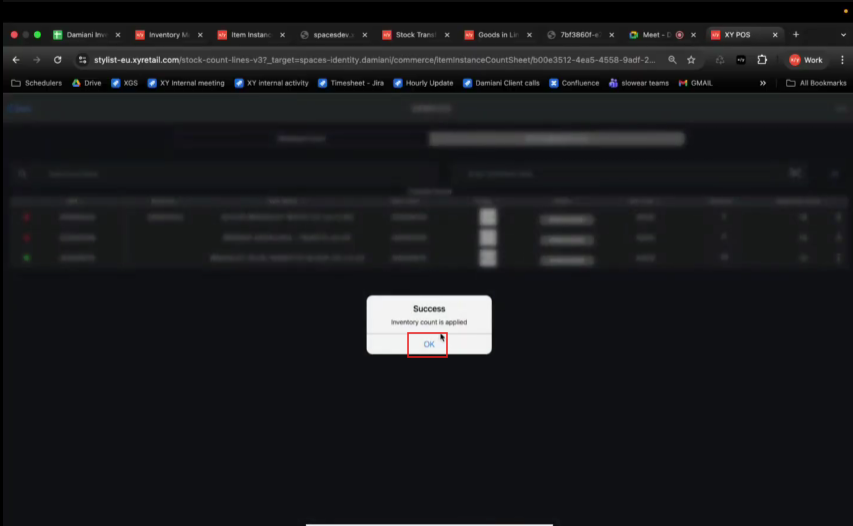
Click OK in the Confirm pop-up to update the inventory count status from PREPARED to CHECKED-IN.
-
Click OK in the Success pop-up.
-
Sign in to Inventory Manager sheet.
-
Paste the UPC or item code in the search box.
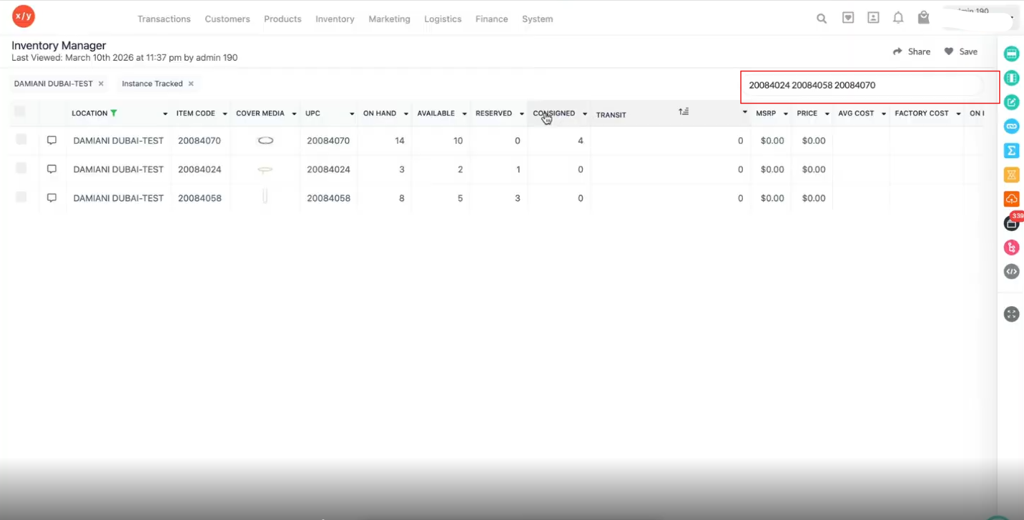
-
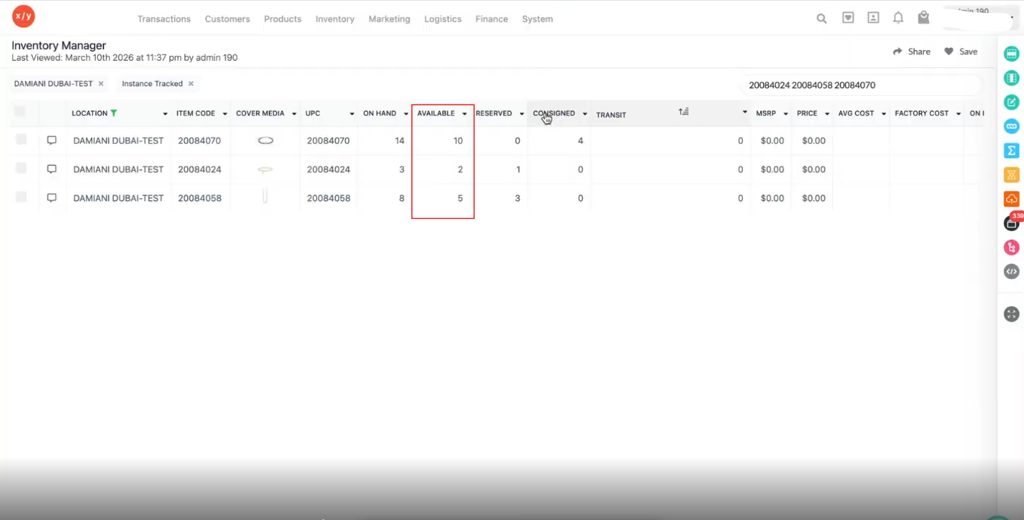
Verify the AVAILABLE column count is updated.
-
Click the meatballs menu in the upper-right corner again.
-
Click the Export Excel Sheet to download the report in Excel or CSV.
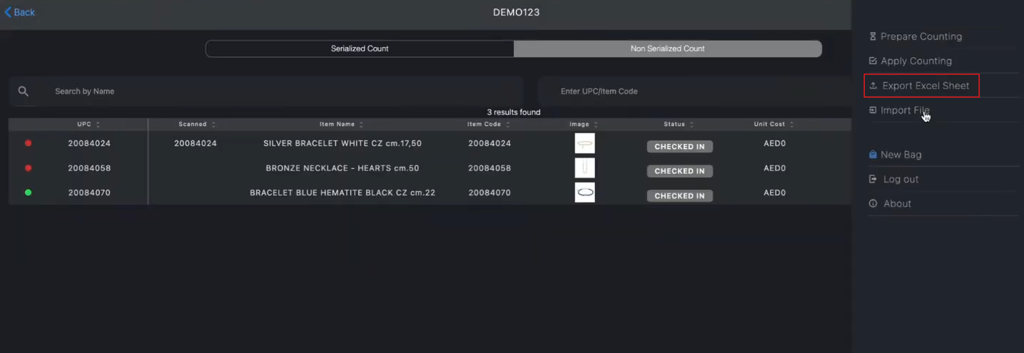
ℹ️ When you apply the inventory count, the system updates the stock and sets the status to Checked-In, allows view-only access, and prevents further modifications.