Creating a Self Gift Registry Account
Introduction
This topic explains the procedure of how to create a self gift registry account when a customer requests to create a new account for themselves.
Steps to Create a Self Gift Registry Account
-
Click the burger menu.
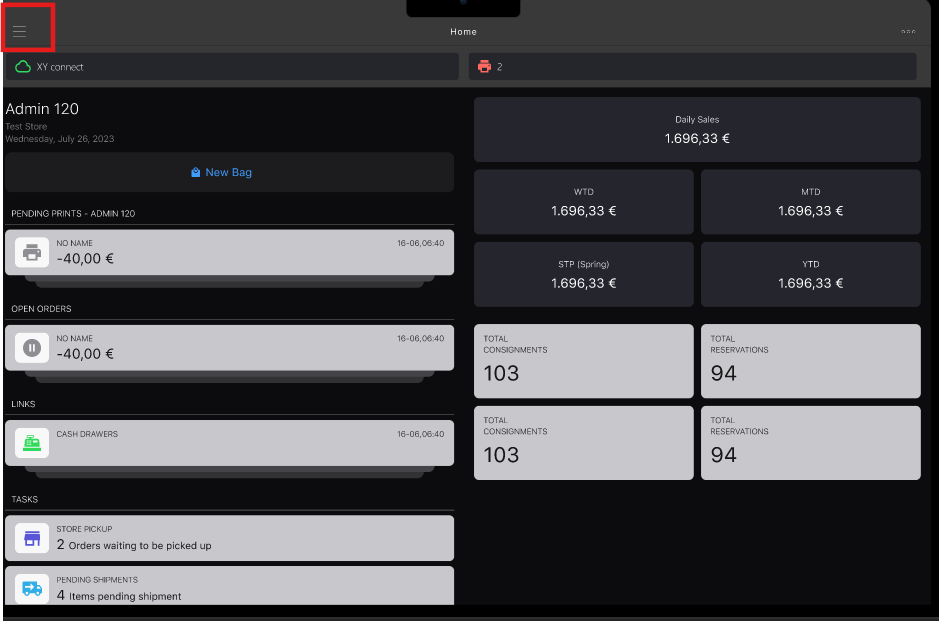
-
Click New Bag.
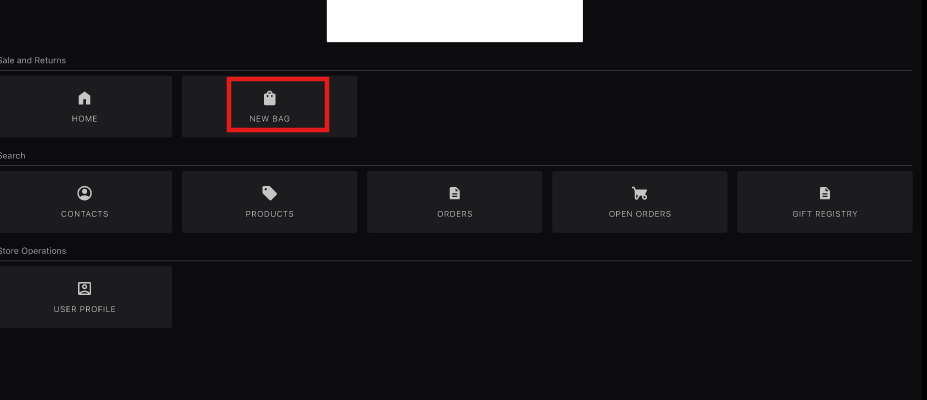
-
Click Gift Registry.
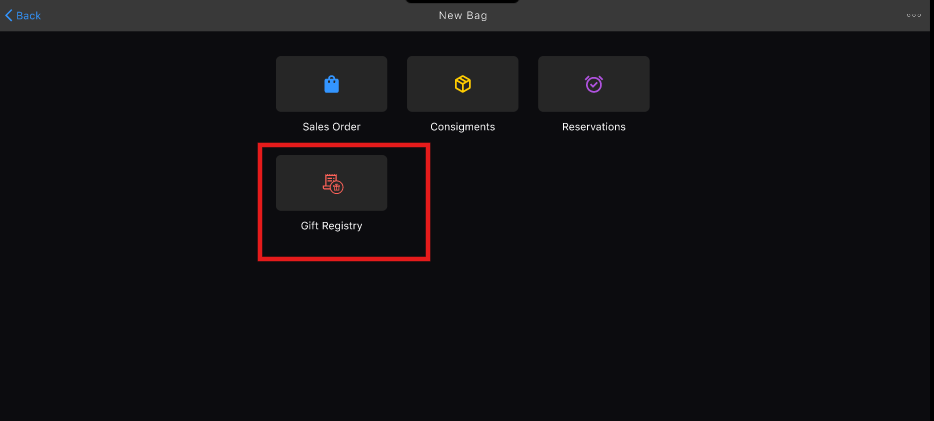
-
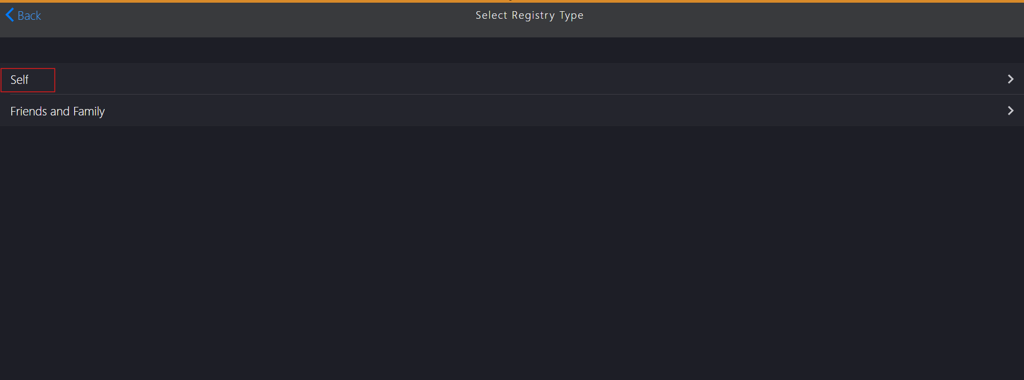
Click Self in Select Register Type.
-
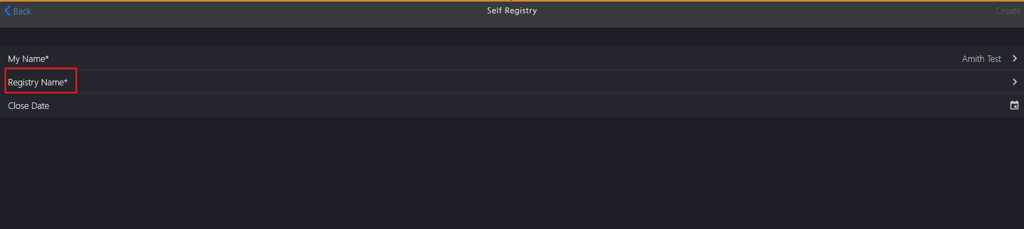
Update the following Self Registry sections:
If creating a gift registry for an existing customer within an existing gift category, complete the following steps:
Click My Name*.

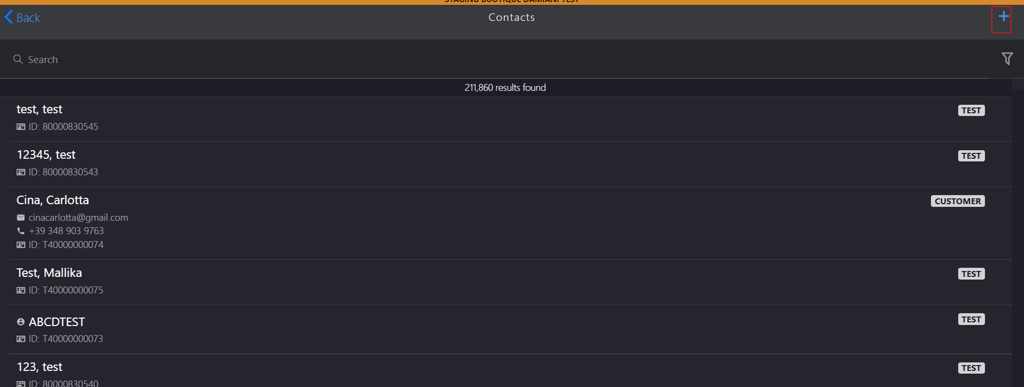
Search for the customer in the Contacts search box.
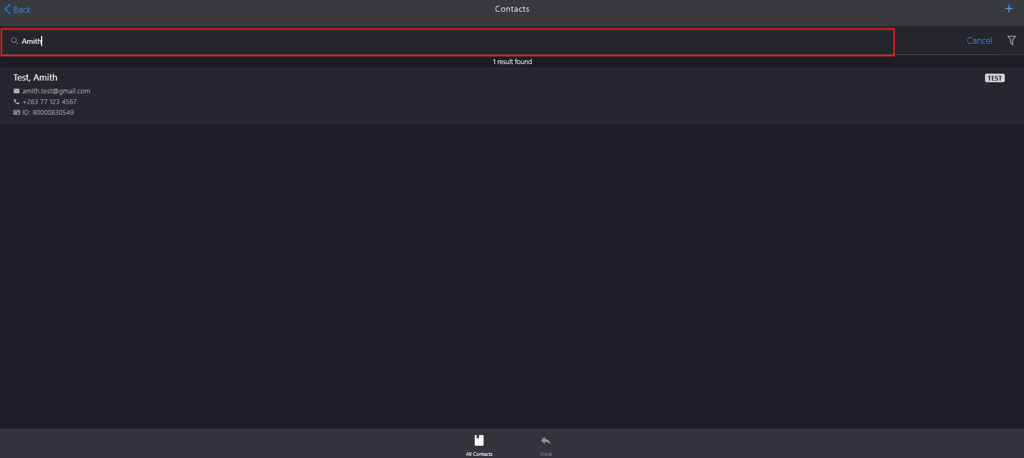
- Press the Enter key.
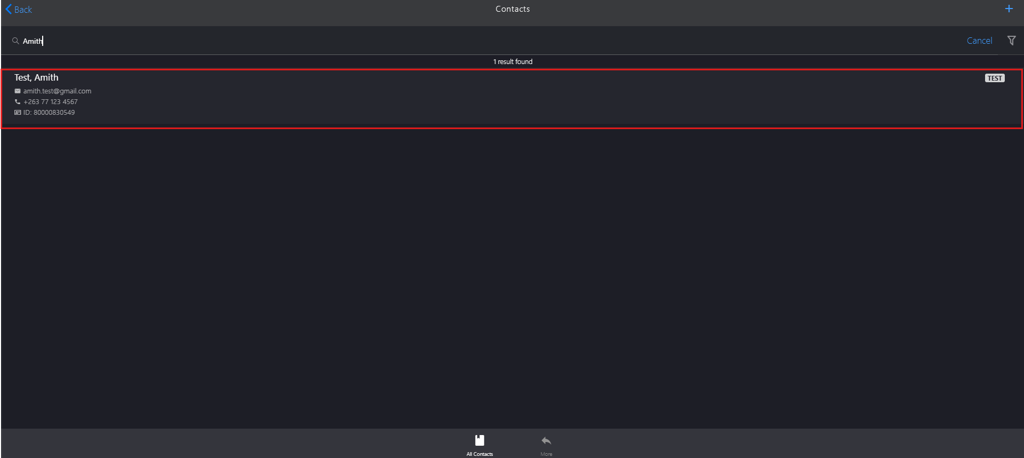
Select the customer from the list.
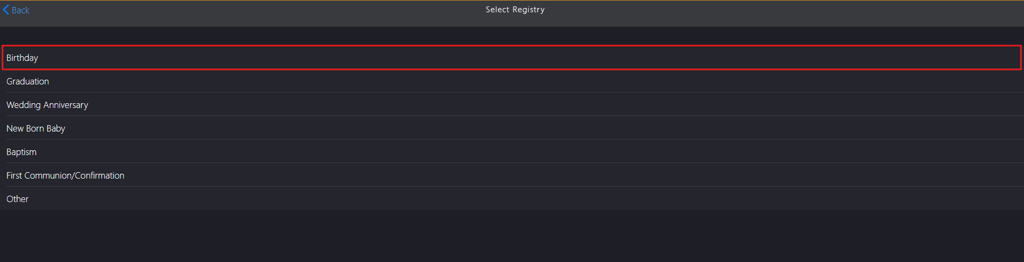
Click Registry Name*.
Select the category from the Select Registry list.
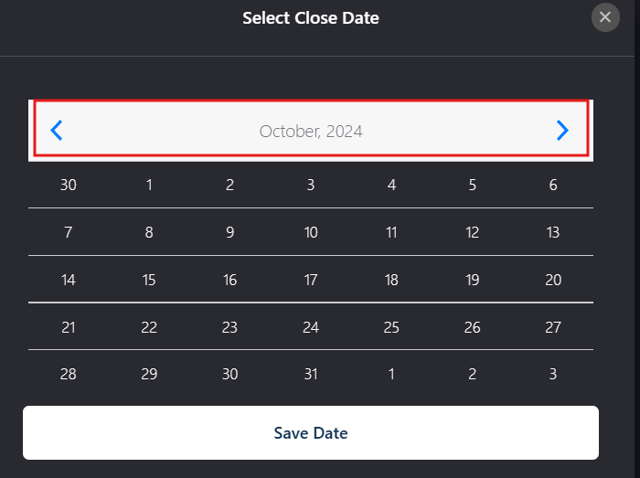
Click the calendar icon in Close Date.

Note: Setting a gift registry close date is not mandatory. The system by default validates gift registry accounts for one year. If you require a specific closure date, you can set it using the calendar icon.
Click the left arrow to navigate to the previous month or the right arrow to proceed to the next month.
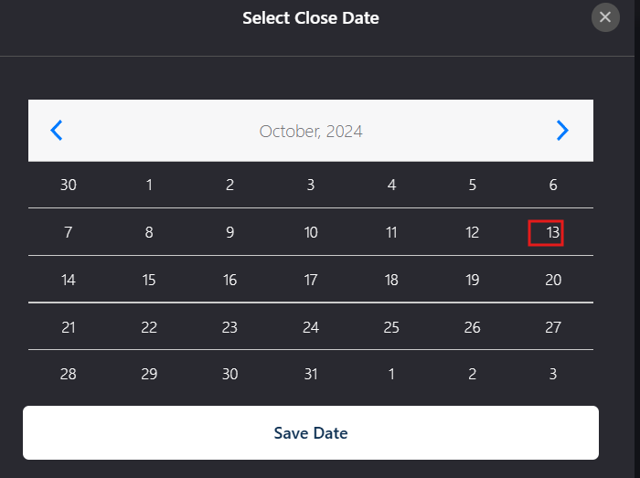
Select the closure date.
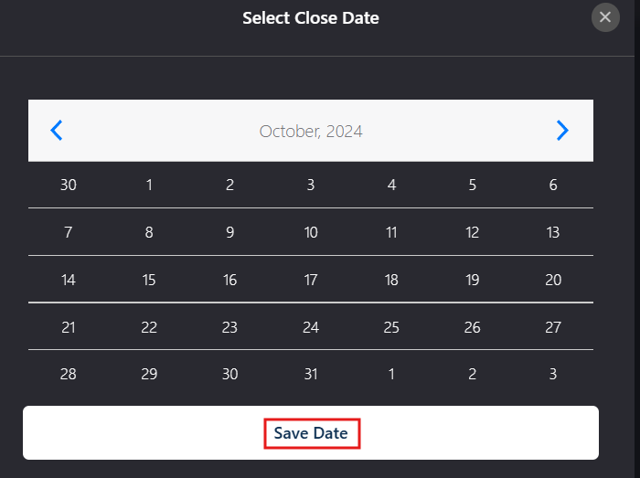
Click Save Date.

If creating a gift registry for a new customer in a new gift category, complete the following steps:
Click My Name*.

Click the Add icon to add the following information:
- Create a new customer profile on the New Customer page.
- Add a new address on the Customer Address page.
- Add a new tax profile on the Tax Profile page.
- Configure Marketing Permissions, Contact Preferences and Customer Signature on the Customer Profile page.
Search for the customer in the Contacts search box.
- Press the Enter key.
Select the customer from the list.
Click Registry Name*.
Select Other from the Select Registry list.

Enter the new registry name in the Registry Name field on the Add New Registry page.

Click Done to add the new category to Registry Name.


Click the calendar icon in the Close Date.

Note: Setting a gift registry close date is not mandatory. The system by default validates gift registry accounts for one year. If you require a specific closure date, you can set it using the calendar icon.
Click the left arrow to navigate to the previous month or the right arrow to proceed to the next month.
Select the closure date.
Click Save Date.

-
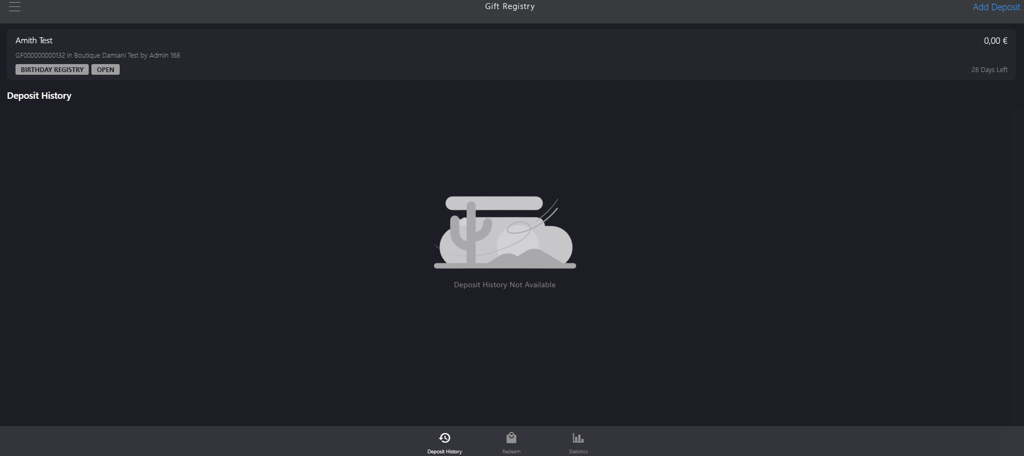
Click Create to complete the gift registry account creation.